Power measurements in functional testing with Raspberry Pi and Otii
Power measurements in functional testing with Raspberry Pi and Otii
Ensuring embedded devices function correctly is critical, as they are integral to applications ranging from home automation to industrial control systems. Testing is a key component of the development process, ensuring that devices operate as intended. Due to the iterative nature of product development, which requires repetitive functional testing, automation becomes not only useful but essential. One cost-effective and versatile tool for this purpose is the Raspberry Pi.
Why use Raspberry Pi for functional testing?
The Raspberry Pi, a low-cost, credit-card-sized computer, is widely used for educational purposes, prototyping, and development in the tech community. It offers several advantages for functional testing of embedded and IoT devices:
- Flexibility: With its GPIO (General Purpose Input/Output) pins, it can interface with a wide range of sensors, actuators, and other devices.
- Powerful Software Ecosystem: It supports a variety of programming languages and frameworks, making it easy to write and execute test scripts.
- Community Support: There is a large, active community providing extensive resources and support.
Power measurement in functional testing with Raspberry Pi
Functional testing involves verifying that a device performs its intended functions correctly. This type of testing focuses on the user interface, APIs, databases, security, and other functionalities. For embedded and IoT devices, this means ensuring sensors read data accurately, actuators respond correctly, and communication protocols work as expected. Additionally, measuring power consumption is crucial to understand how changes affect device efficiency.
Power measurements are now part of continuous integration setups thanks to tools like Otii Ace Pro and Otii Automation Toolbox. The latest Otii software also supports automated functional testing with Raspberry Pi, streamlining comprehensive testing in development workflows.
How does it work?
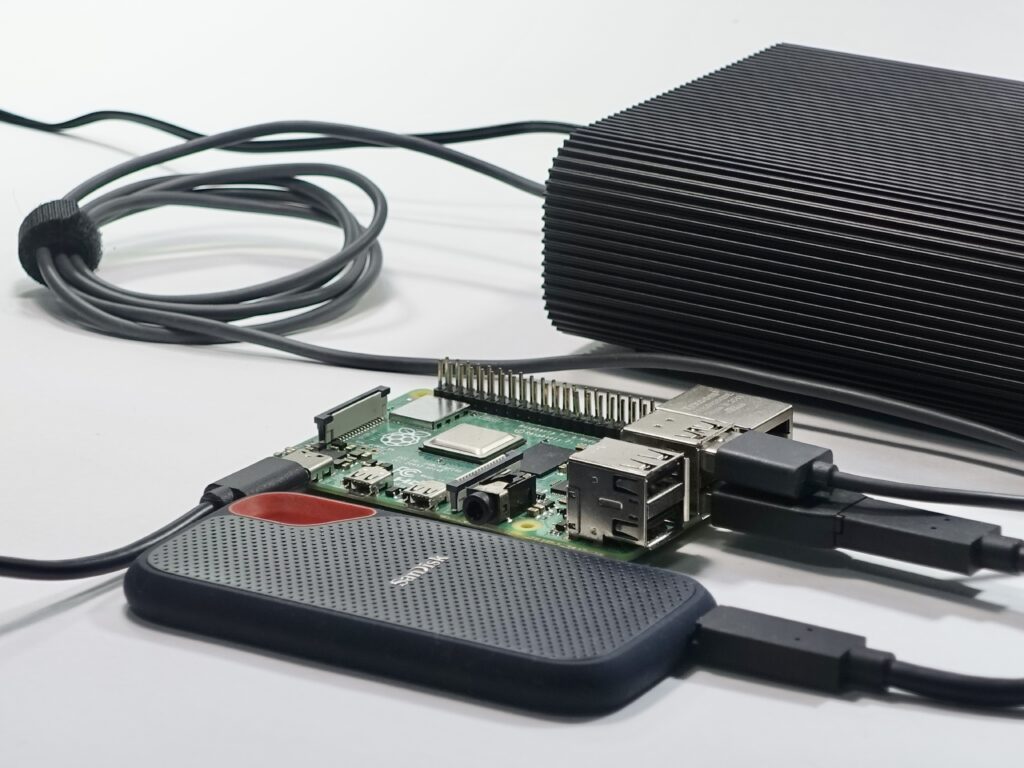
Set up a Raspberry Pi 4 or 5 as a test machine to run automated benchmark testing with the Otii Product Suite:
- Set up a Raspberry Pi.
- Wire up the entire system, including your device under test (DUT)
- Download and install the Otii server within the Raspberry Pi.
- Run the scripts and start automating your recordings.
The Otii server, alongside the Automation Toolbox, will do the magic in your laboratory. Enabling the Otii system to be controlled and managed through scripting using Python or Java. Read more about Otii Automation Toolbox and TCP server here.
Check out the step-by-step guide to start with Otii Automation Toolbox and RPi.